Teaching Myself CAD
Tech Stack
Links
About
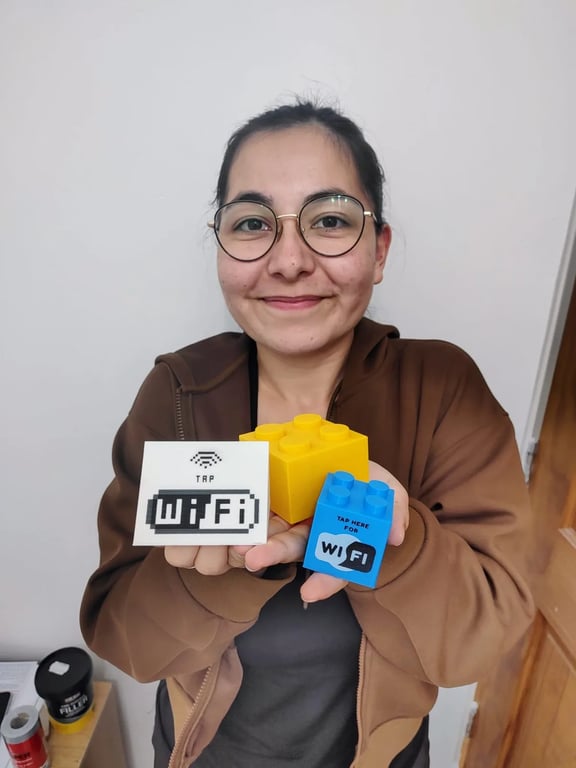
My first builds while teaching myself CAD in Onshape. Each one hides a passive NFC tag, so visitors can tap it with a phone to join the Wi-Fi. I designed the shapes, 3D printed them, and used a UV printer to put artwork straight onto the printed faces.
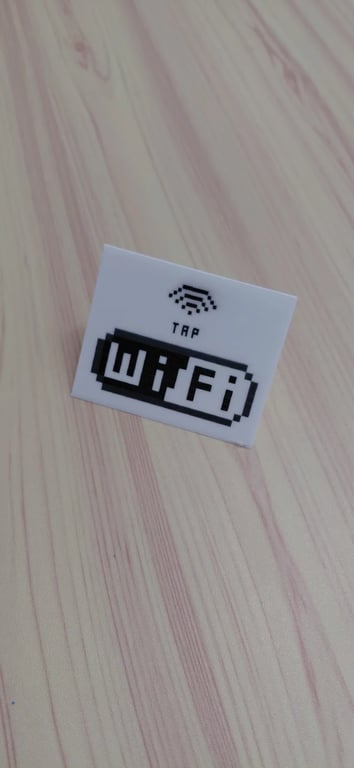
Wi-Fi NFC prism
It started as a 50 mm square sketched in Onshape, which I turned into a block and sliced into a right-triangular prism 100 mm deep. The slanted front carries my pixel-art Wi-Fi design, UV printed. The slanted face has to sit flat in the UV printer, so I also designed a separate support that holds it level.
The blocks
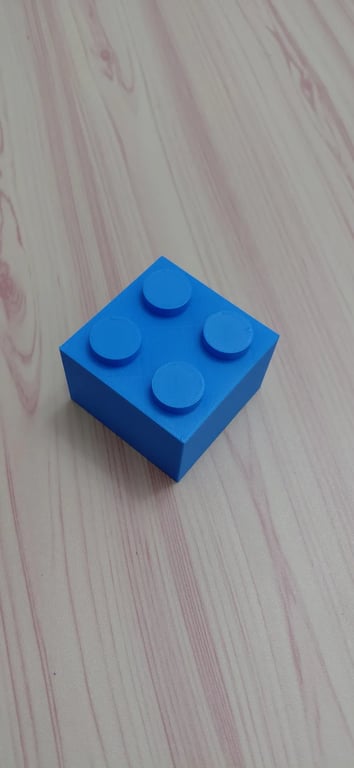
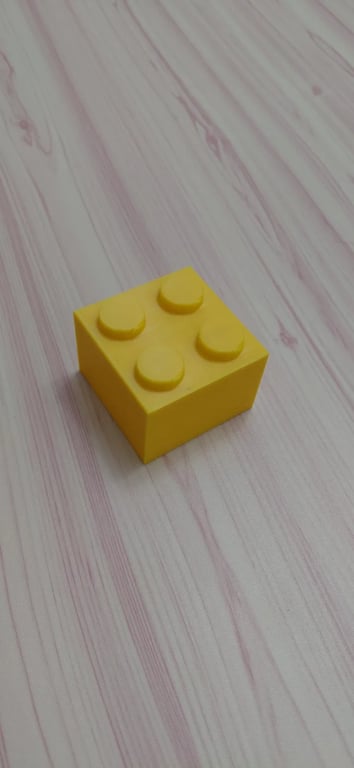
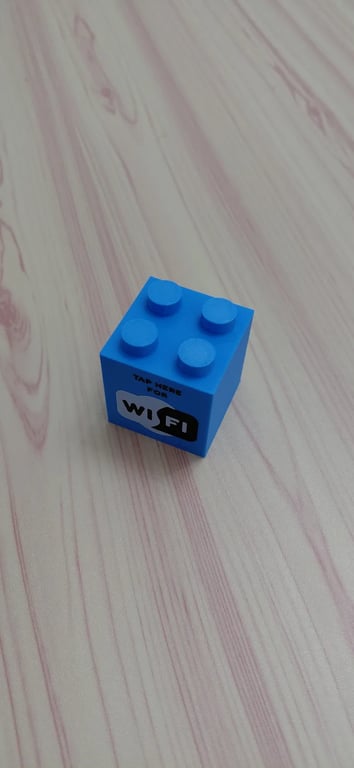
Building blocks with an NFC tag inside, made as a gift for my dad. I printed a big blue and a big yellow version, then a smaller blue block with "Tap here for Wi-Fi" UV printed on its side.
Writing the tag
I wrote the Wi-Fi details to each NFC sticker with the NFC Tools app. Tapping a phone on the build connects it.
Pumpkin Boo enclosure
My biggest CAD build so far: a printed pumpkin that holds a camera, speaker and two soldered boards. I adapted a YouTuber's Onshape design to fit the electronics and print faster. See Pumpkin Boo.
Build Timeline
First Onshape sessions
Sketched the prism and its UV printing support.
Prism printed
Printed the prism and its support at DoES Liverpool.
Blocks planned
Started designing a custom Wi-Fi block as a gift for my dad.
Blocks printed
Printed the big blue and yellow blocks and finished the Wi-Fi artwork.
UV printing
UV printed the pixel-art front onto the prism and the Wi-Fi design onto the small blue block.
NFC tags written
Wrote the Wi-Fi details to the NFC stickers, so a phone tap connects.
Part 1 posted
Shared the prism build as the first Teaching Myself CAD video.
Discussion & Feedback
Have questions about this project? Built something similar? Share your thoughts!
(Requires GitHub account to comment)
Related Projects
Analysis Terminal
A physical ESP32 game module built for Think to Ink. Entering a player ID on the companion page sends the corresponding team to the terminal, where three physical buttons browse score, rank, games played, wins and league standings on a 2.8-inch colour display. The finished build uses soldered electronics inside a custom black and grey PETG enclosure and was exhibited at Liverpool MakeFest 2026. Project-specific materials cost £18.93.
Pumpkin Boo
A 3D-printed Halloween pumpkin that spots people and boos at them. An ESP32-CAM inside looks out through the open mouth and runs Google's person detection model, and a DFPlayer Mini plays a boo voice generated with ElevenLabs through a small speaker. A status page over Wi-Fi shows what the camera sees, with volume and quiet mode controls. The pumpkin started from a YouTuber's Onshape design, which I adapted to fit the electronics and to print faster.
Fabric Colour Sensor
A handheld fabric scanner that uses an illuminated GY-33 TCS34725 sensor to compare two colour samples. An ESP32-S3 averages ten readings per scan, then shows the RGB values and a Match, Similar or Different result on a small OLED. I moved the working prototype onto two soldered perfboards and built a four-part enclosure for Liverpool MakeFest 2026. The electronics worked throughout the event, while the enclosure needed two zip ties to keep its front and rear securely closed.