Fabric Colour Sensor
Tech Stack
Links
About
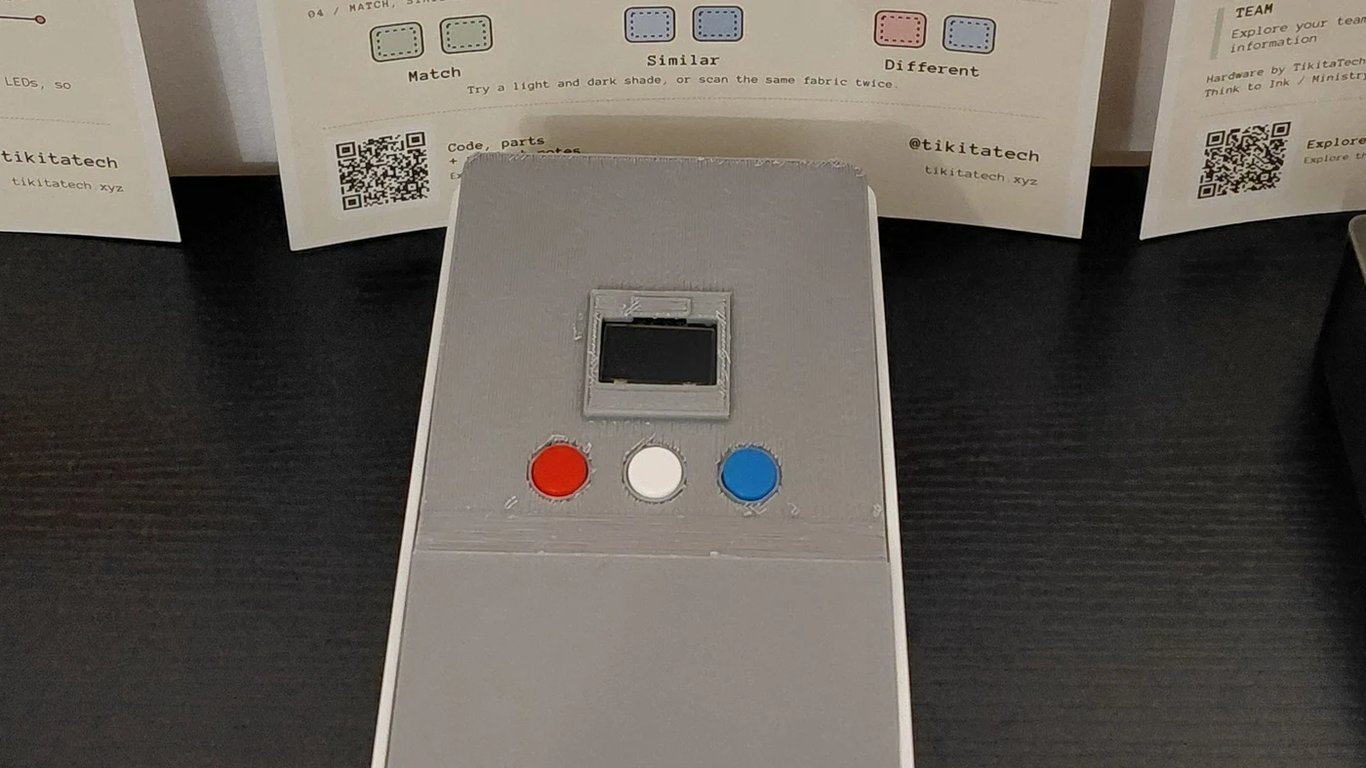
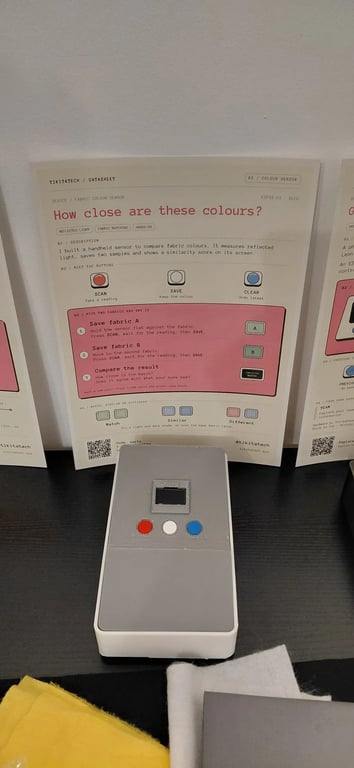
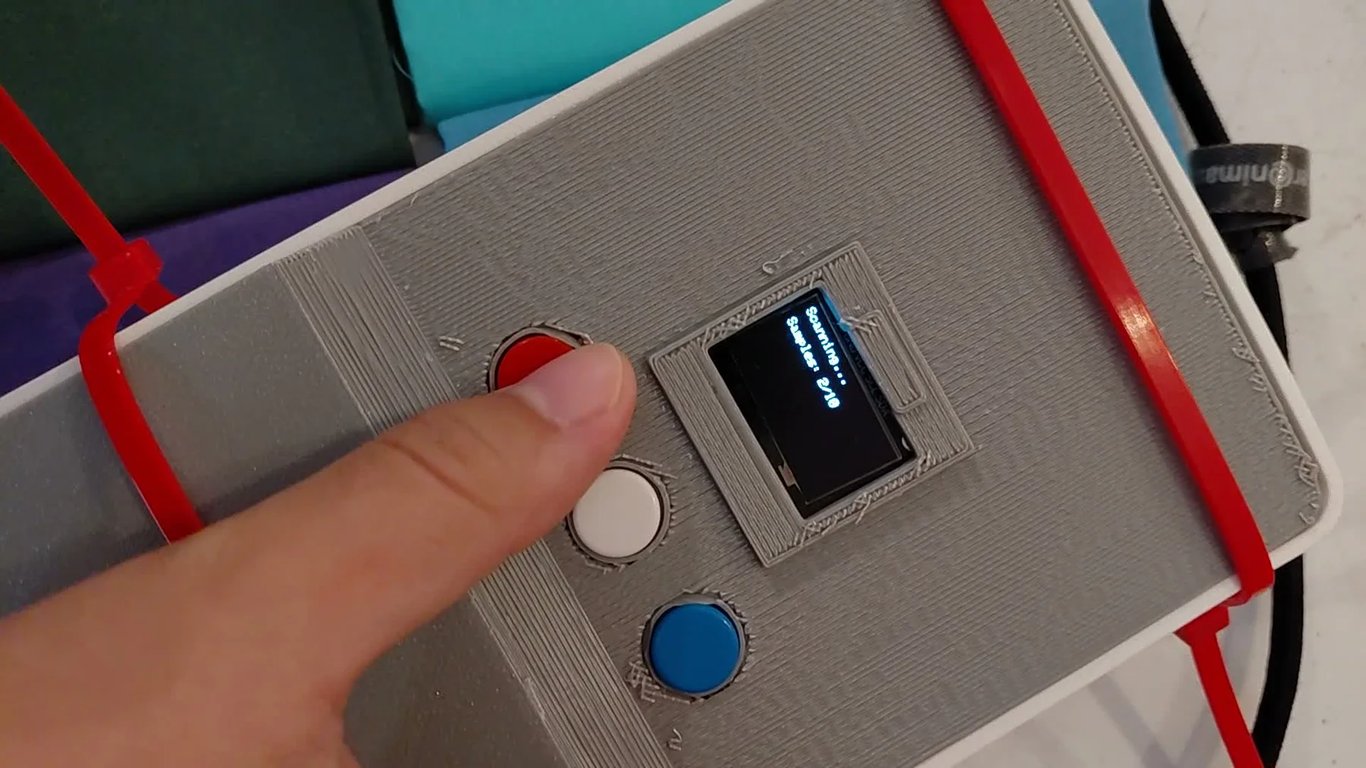
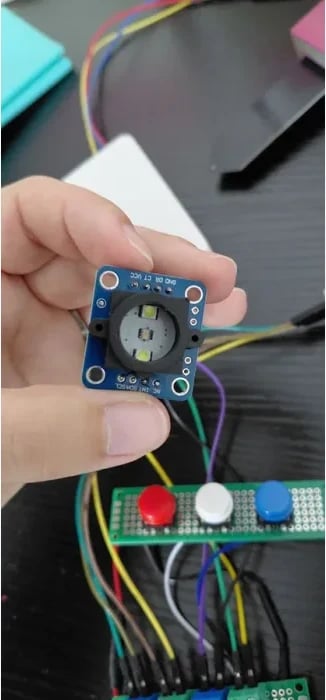
A handheld fabric scanner that uses an illuminated GY-33 TCS34725 sensor to compare two colour samples. An ESP32-S3 averages ten readings per scan, then shows the RGB values and a Match, Similar or Different result on a small OLED. I moved the working prototype onto two soldered perfboards and built a four-part enclosure for Liverpool MakeFest 2026. The electronics worked throughout the event, while the enclosure needed two zip ties to keep its front and rear securely closed.
Scan, save and compare
The red Scan button captures a colour, the white Save button stores samples A and B, and the blue Clear button undoes the latest reading. The OLED shows the measured RGB values and the comparison result.
Consistent readings
Each scan averages ten readings from the illuminated GY-33 TCS34725 module. The firmware compares calibrated values and groups the score into Match, Similar or Different. Keeping the sensor position and lighting consistent matters more than treating the score as an absolute colour measurement.
Two-board electronics
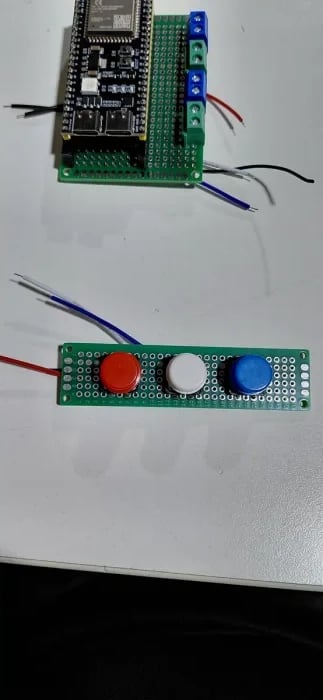
The finished build separates the ESP32-S3, terminal blocks and module connections onto a main perfboard, with the three physical controls on a second button board. The OLED uses I2C and the colour sensor communicates with the ESP32-S3 over UART.
Printed enclosure
The four-part enclosure holds the frame, front panel, rear tray and removable light divider. The final parts used 155.05 g of filament and cost £5.43.
Build Timeline
First fabric readings captured
Tested the illuminated sensor against brown, green and grey fabric and recorded the first working readings.
First readings shared
Shared the first fabric readings across YouTube, TikTok and Instagram.
Final electronics assembled
Moved the ESP32-S3 and controls onto separate soldered perfboards, checked the wiring and recalibrated the sensor.
MakeFest enclosure printed
Printed the central frame and front in PLA, then the rear and light divider in PETG. The final four parts used 155.05 g of filament.
Exhibited at Liverpool MakeFest
Visitors used the finished scanner to compare fabric swatches. The electronics worked, while two zip ties kept the enclosure securely closed.
Discussion & Feedback
Have questions about this project? Built something similar? Share your thoughts!
(Requires GitHub account to comment)
Related Projects
Analysis Terminal
A physical ESP32 game module built for Think to Ink. Entering a player ID on the companion page sends the corresponding team to the terminal, where three physical buttons browse score, rank, games played, wins and league standings on a 2.8-inch colour display. The finished build uses soldered electronics inside a custom black and grey PETG enclosure and was exhibited at Liverpool MakeFest 2026. Project-specific materials cost £18.93.
Smart Plant Moisture Monitor
A finished ESP32 plant monitor with a capacitive soil-moisture sensor, a red, yellow and green status lamp, and an installable pixel-art PWA. The final build uses soldered electronics inside a 3D-printed controller enclosure and was exhibited at Liverpool MakeFest 2026. Project materials cost £8.91.
Mushroom LED Keyring
A hand-soldered mushroom made from eight green LEDs and four yellow LEDs, powered by two CR2032 cells and controlled by a slide switch. I designed the circuit in Tinkercad, built it on a mini solderable breadboard, then created a 3D-printed enclosure for Liverpool MakeFest 2026. Parts and enclosure cost about £4.53, excluding the switch and shared LED and resistor kit.