Smart Plant Moisture Monitor
Tech Stack
Links
About
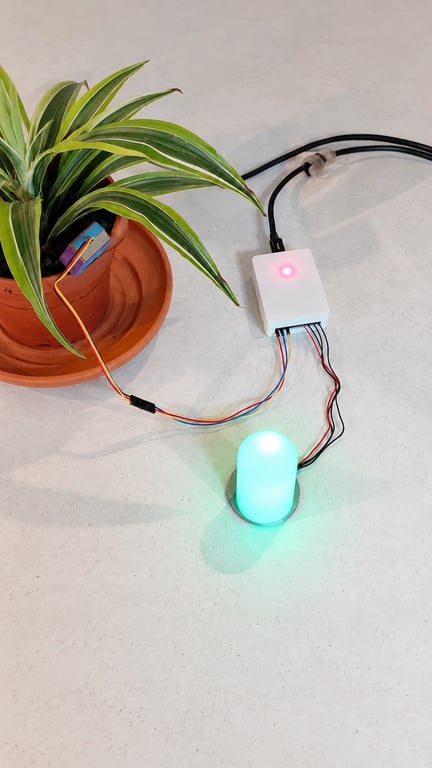
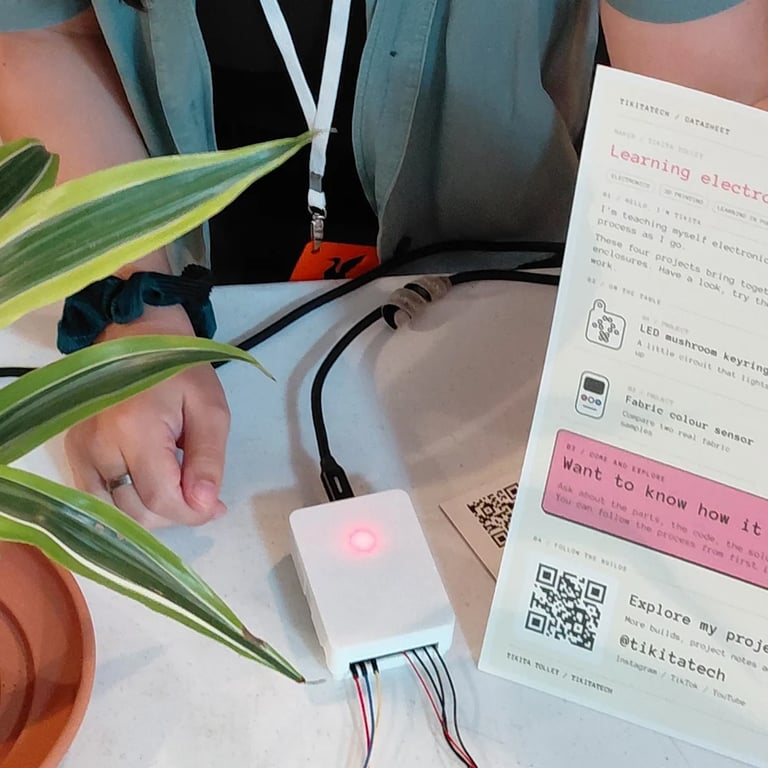
A finished ESP32 plant monitor with a capacitive soil-moisture sensor, a red, yellow and green status lamp, and an installable pixel-art PWA. The final build uses soldered electronics inside a 3D-printed controller enclosure and was exhibited at Liverpool MakeFest 2026. Project materials cost £8.91.
Sensor and enclosure
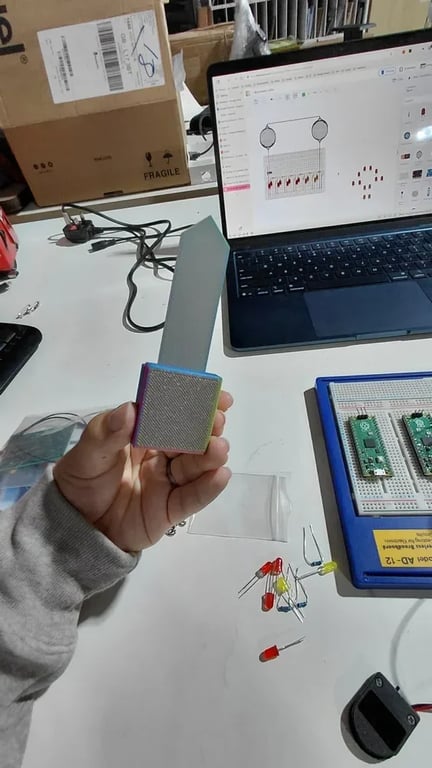
The capacitive sensor reads the moisture level without leaving exposed metal in the soil. I found a printable case, printed its protective parts in white PLA and fitted them around the sensor.
RGB status lamp
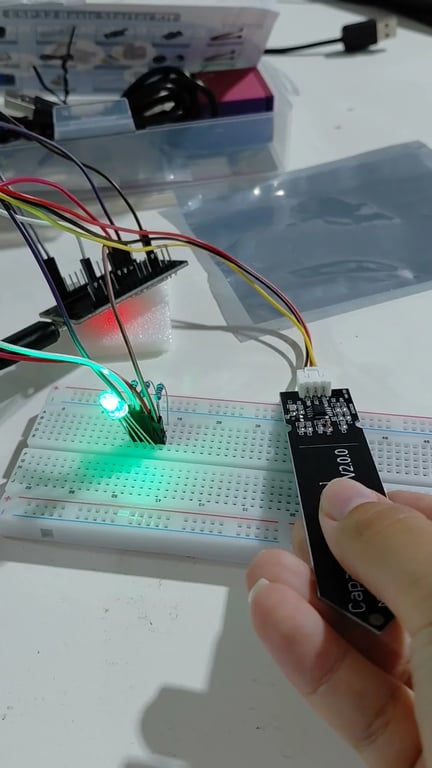
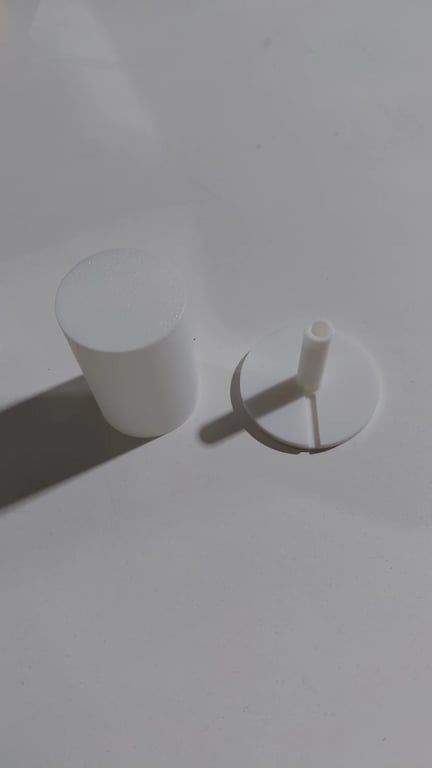
I designed a small shade and improved v3 base to turn the bare RGB LED into a more visible red, yellow or green status lamp, then printed both on a Bambu Lab P1S. The verified files are available on Printables and MakerWorld.
Finished hardware
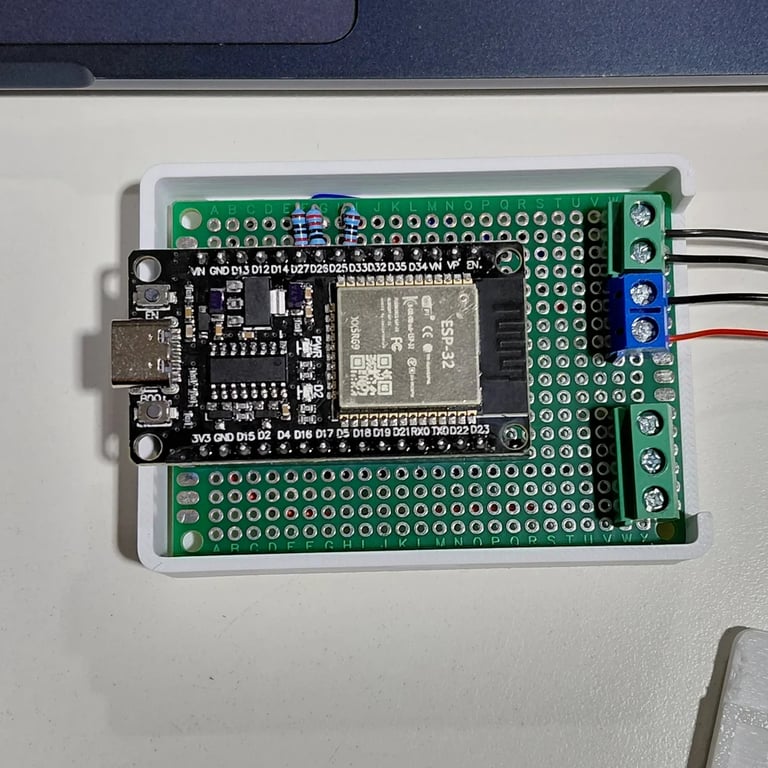
The final circuit is soldered to perfboard and uses terminal blocks for the sensor and lamp connections. It sits inside a 3D-printed controller enclosure with a removable ESP32 carrier and lift-off lid. Project materials came to £8.91, or £21.80 including the shared ESP32 starter kit. The original lamp and sensor-case parts used 38.02 g of PLA, and the controller enclosure used another 60.32 g, for 98.34 g total.
Wireless app
The ESP32 sends a moisture reading over Wi-Fi every five minutes. A Cloudflare Worker stores the latest readings in D1 and serves a React PWA that can be installed on a phone. Instead of showing only a percentage, the app chooses a happy, worried, sad or sleeping pixel-art plant character for the current state.
Build Timeline
Sensor case printed
Printed and fit-tested the protective case around the capacitive moisture sensor.
Status lamp built
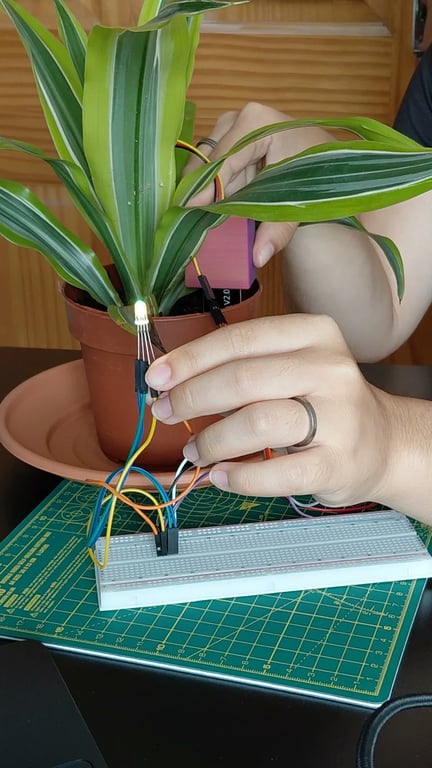
Printed the custom lamp head and tested the RGB LED circuit on a breadboard.
Tested in a plant
Placed the sensor in soil and recorded the monitor changing colour with the moisture reading.
Build video published
Shared the working plant monitor across YouTube, TikTok and Instagram.
Wireless PWA published
Connected the ESP32 over Wi-Fi, stored live readings in Cloudflare D1, and published an installable PWA with pixel-art moisture states.
Finished build exhibited at MakeFest
Exhibited the working monitor with its soldered electronics, controller enclosure, soil sensor, RGB status lamp and live PWA at Liverpool MakeFest.
Discussion & Feedback
Have questions about this project? Built something similar? Share your thoughts!
(Requires GitHub account to comment)
Related Projects
Analysis Terminal
A physical ESP32 game module built for Think to Ink. Entering a player ID on the companion page sends the corresponding team to the terminal, where three physical buttons browse score, rank, games played, wins and league standings on a 2.8-inch colour display. The finished build uses soldered electronics inside a custom black and grey PETG enclosure and was exhibited at Liverpool MakeFest 2026. Project-specific materials cost £18.93.
Fabric Colour Sensor
A handheld fabric scanner that uses an illuminated GY-33 TCS34725 sensor to compare two colour samples. An ESP32-S3 averages ten readings per scan, then shows the RGB values and a Match, Similar or Different result on a small OLED. I moved the working prototype onto two soldered perfboards and built a four-part enclosure for Liverpool MakeFest 2026. The electronics worked throughout the event, while the enclosure needed two zip ties to keep its front and rear securely closed.
LED Blink
My first hardware build. An ESP32 driving a WS2812B addressable RGB strip, lighting individual pixels and cycling them through colours on a timer - the starting point for getting FastLED talking to the panel before doing anything more interesting with it. The ESP32 is a custom board made by someone at DoES Liverpool with the LED connector built in, so 5V, ground and data all come off a single plug. Data sits on GPIO5 and brightness is capped at 50/255. It started out as a sound-reactive build, but the board's microphone turned out to be digital and I ran out of time on the digital-to-analogue side, so that path is still sat commented out in main.ino.