Mushroom LED Keyring
Tech Stack
Links
About
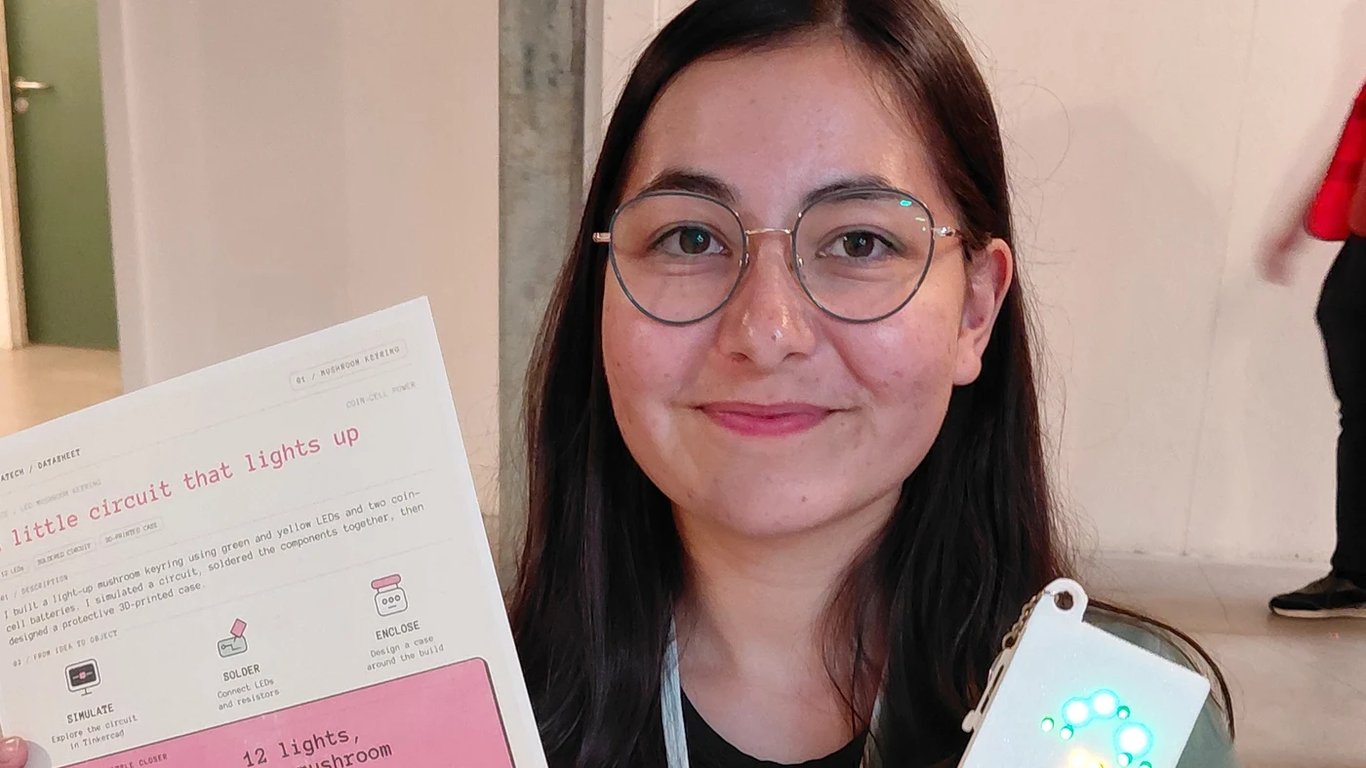
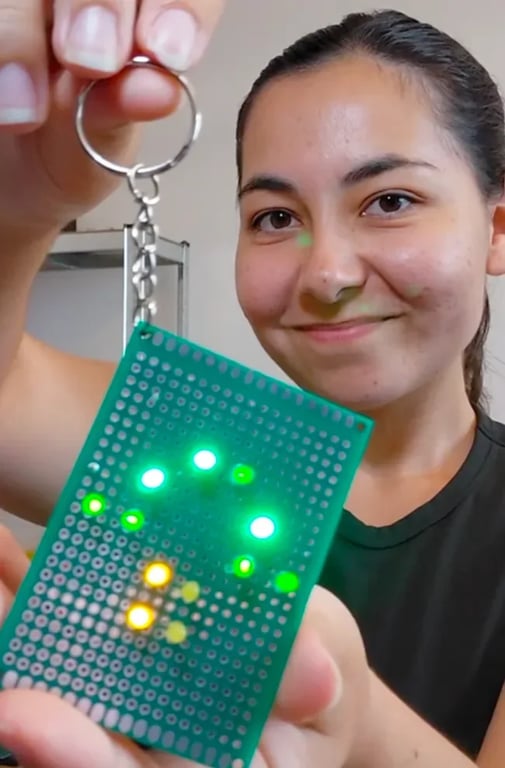
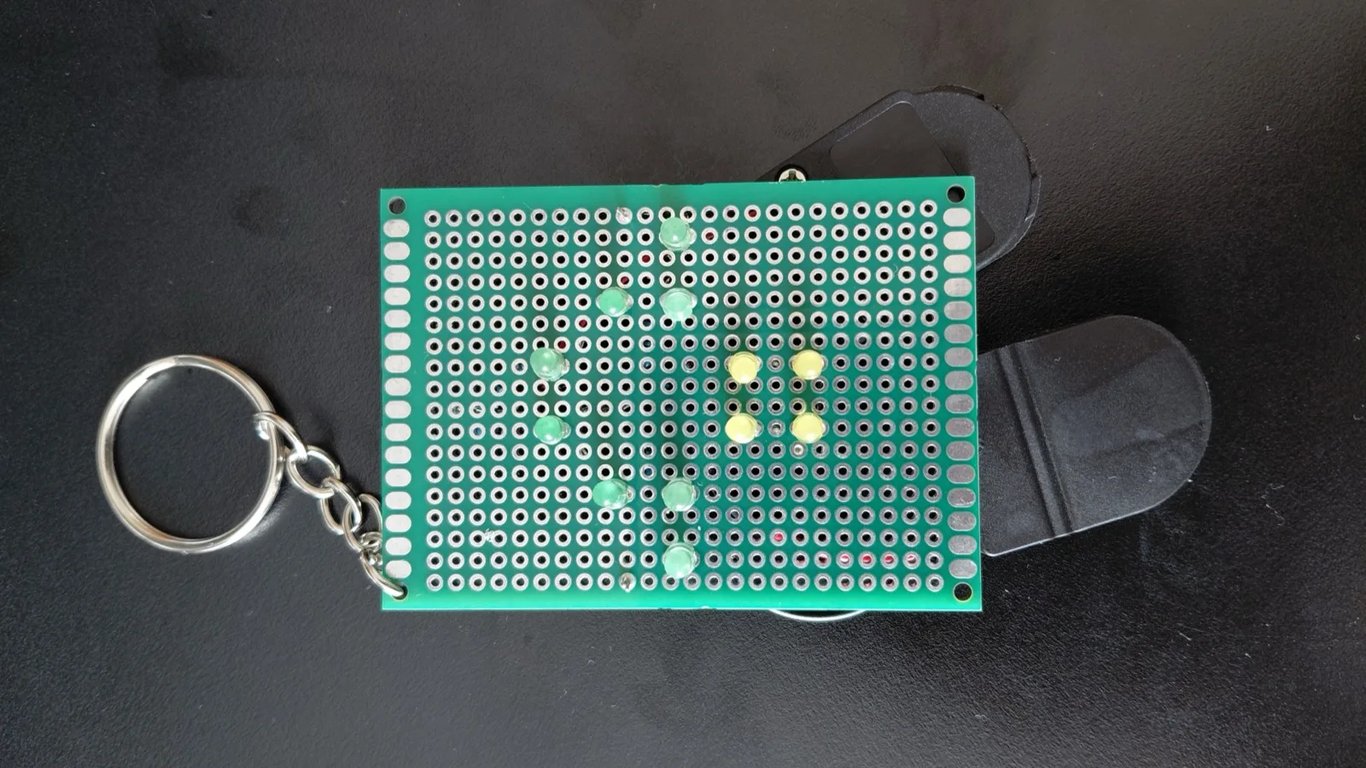
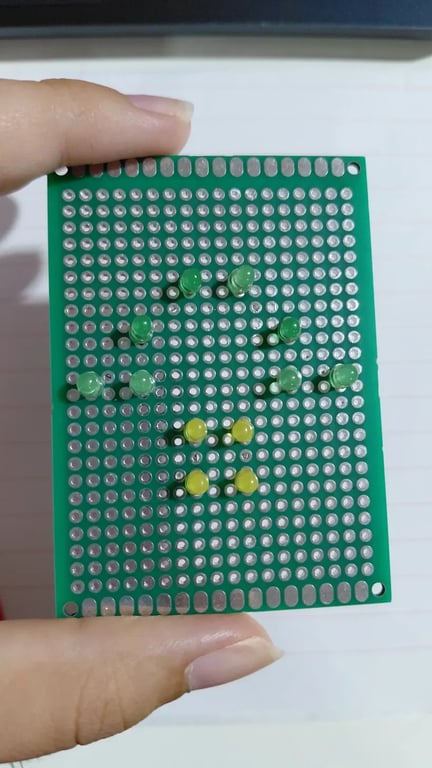
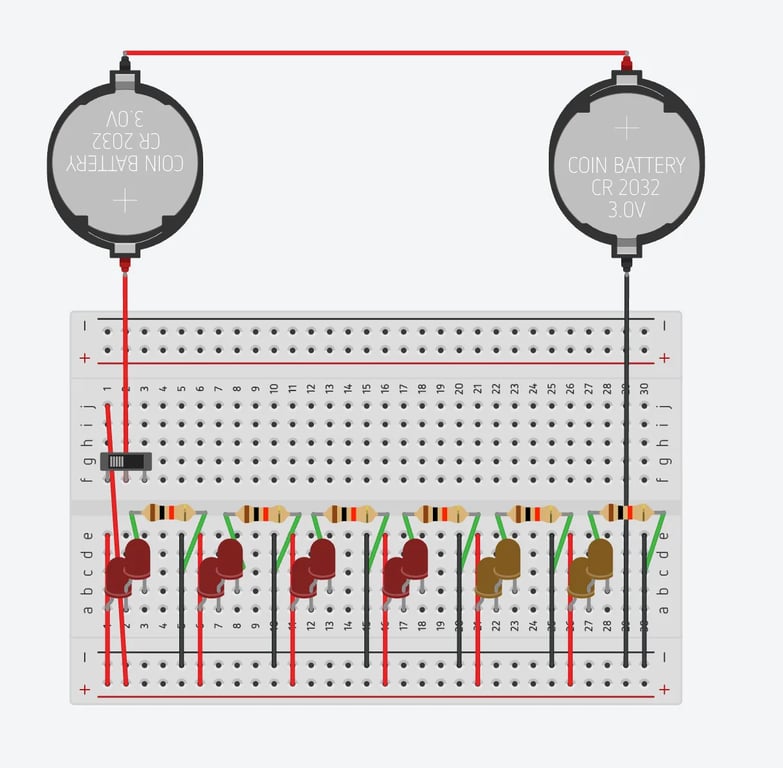
A hand-soldered mushroom made from eight green LEDs and four yellow LEDs, powered by two CR2032 cells and controlled by a slide switch. I designed the circuit in Tinkercad, built it on a mini solderable breadboard, then created a 3D-printed enclosure for Liverpool MakeFest 2026. Parts and enclosure cost about £4.53, excluding the switch and shared LED and resistor kit.
Six-branch circuit
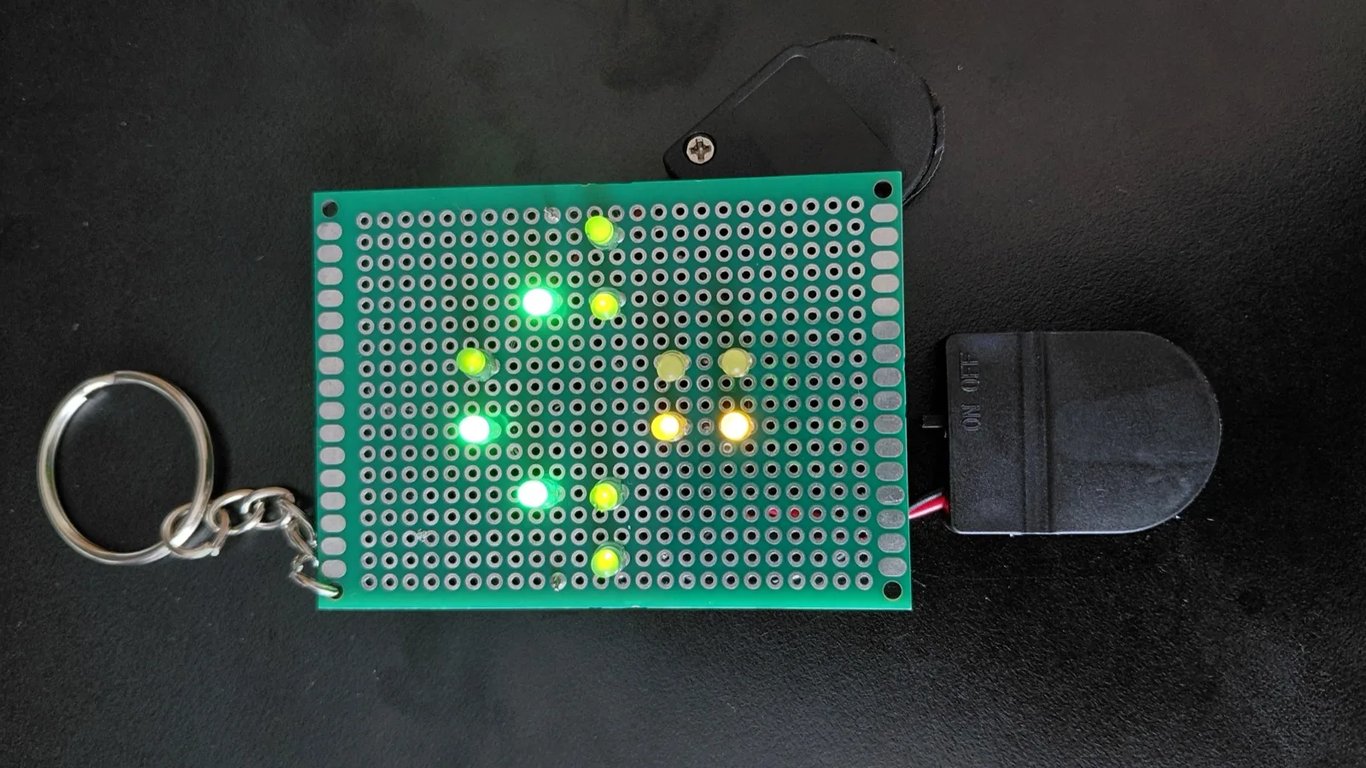
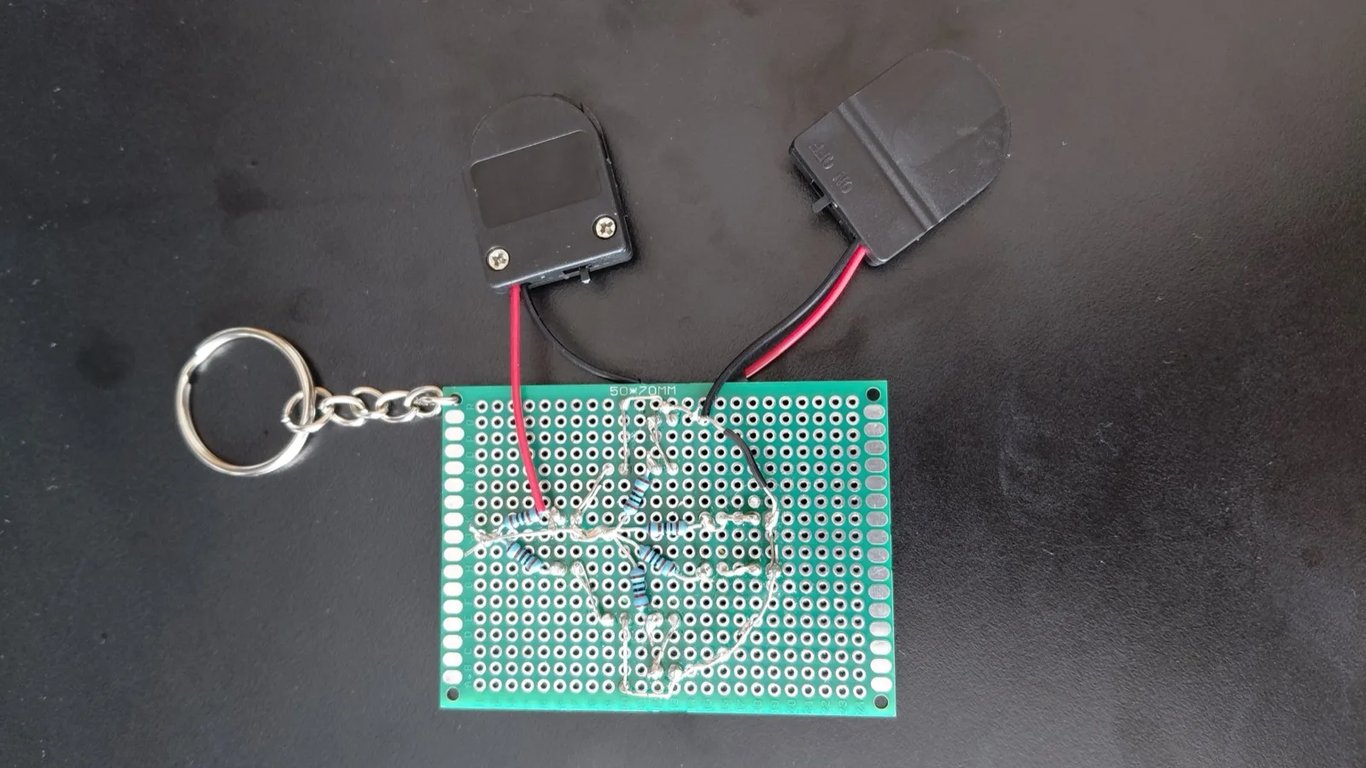
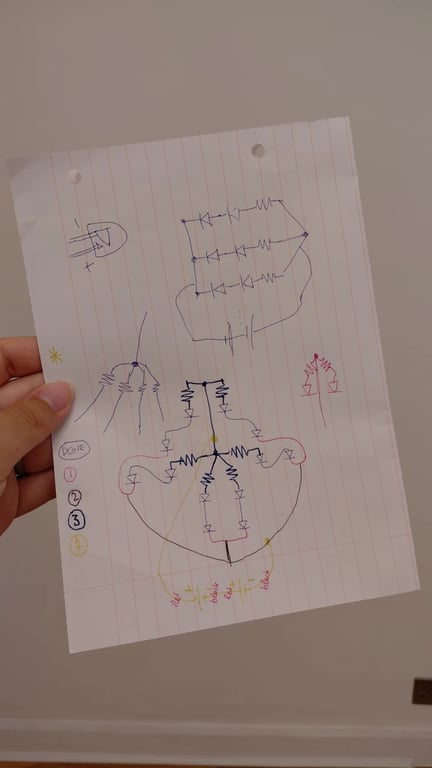
The twelve LEDs are arranged as six parallel branches. Each branch has a 1 kΩ resistor and two LEDs in series, so one failed LED only takes out its own pair.
First soldering project
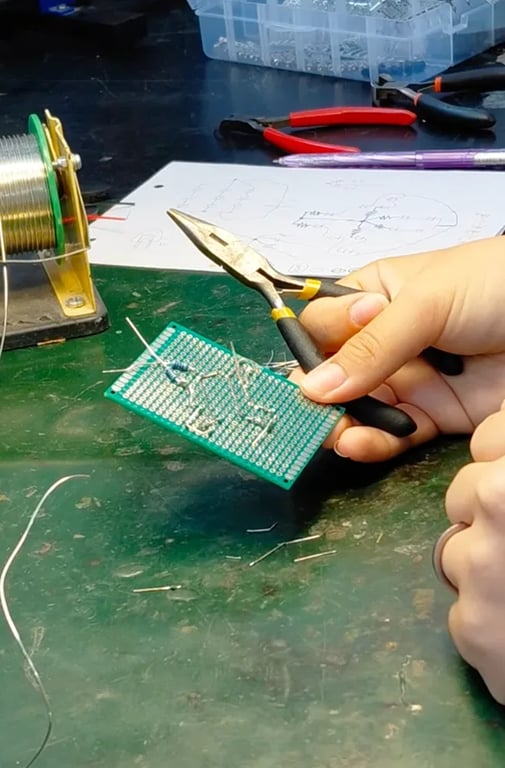
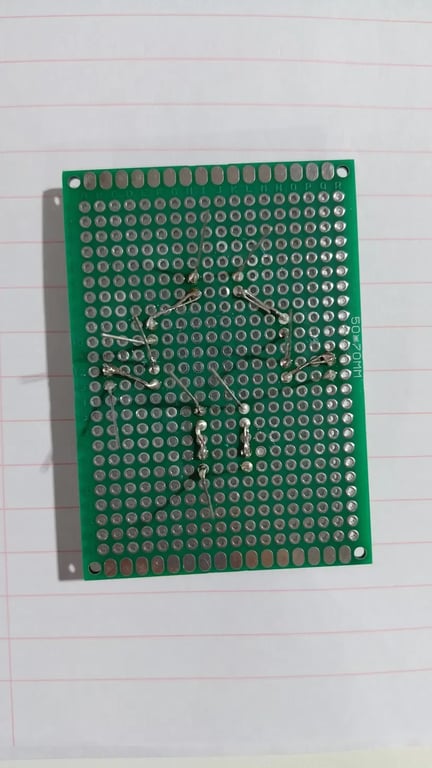
I planned the layout in Tinkercad, transferred it to a mini solderable breadboard and soldered the branches by hand at DoES Liverpool. Eight green LEDs form the cap and four yellow LEDs form the stem.
MakeFest enclosure
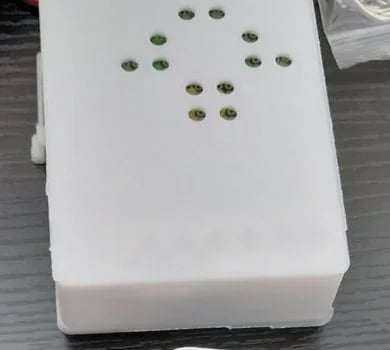
For Liverpool MakeFest I designed a shell and rear cover in Onshape, iterated on LED clearances and battery space, then printed the enclosure on a Bambu Lab P1S.
Power and cost
Two CR2032 cells in series provide the 6 V supply, with a slide switch in the positive line. Parts and enclosure came to about £4.53, excluding the switch and shared LED and resistor kit.
Build Timeline
Original circuit completed
Built the six-branch LED circuit on a mini solderable breadboard and fitted the split ring.
Build video published
Shared the original soldering build across YouTube, TikTok and Instagram.
MakeFest enclosure designed
Developed and test-printed a purpose-built shell and lid around the finished electronics.
Exhibited at Liverpool MakeFest
Displayed the working keyring as one of four finished TikitaTech hardware projects.
Discussion & Feedback
Have questions about this project? Built something similar? Share your thoughts!
(Requires GitHub account to comment)
Related Projects
Fabric Colour Sensor
A handheld fabric scanner that uses an illuminated GY-33 TCS34725 sensor to compare two colour samples. An ESP32-S3 averages ten readings per scan, then shows the RGB values and a Match, Similar or Different result on a small OLED. I moved the working prototype onto two soldered perfboards and built a four-part enclosure for Liverpool MakeFest 2026. The electronics worked throughout the event, while the enclosure needed two zip ties to keep its front and rear securely closed.
Smart Plant Moisture Monitor
A finished ESP32 plant monitor with a capacitive soil-moisture sensor, a red, yellow and green status lamp, and an installable pixel-art PWA. The final build uses soldered electronics inside a 3D-printed controller enclosure and was exhibited at Liverpool MakeFest 2026. Project materials cost £8.91.
Analysis Terminal
A physical ESP32 game module built for Think to Ink. Entering a player ID on the companion page sends the corresponding team to the terminal, where three physical buttons browse score, rank, games played, wins and league standings on a 2.8-inch colour display. The finished build uses soldered electronics inside a custom black and grey PETG enclosure and was exhibited at Liverpool MakeFest 2026. Project-specific materials cost £18.93.